If you own a Mac, you're going to want to save and transfer files and folders to others. It's bound to happen. Or maybe you just want to stick your Microsoft Word document on your USB thumb drive. Either way, you're going to want to shrink - or compress - the files so they take up the least amount of space possible. That way, it will be easy to move your files via email, FTP, or even with an instant messaging application like iChat.
In the past, Mac users had to rely on an expensive application called Stuffit to compress files and folders. That application's still around, but it's no longer necessary the way it once was. In fact, Mac OS X has built-in features that allow you to compress - or zip - files and folders on the spot. You can also uncompress zipped files and folders - it's all built into Mac OS X.
Here's how to compress files and folders:
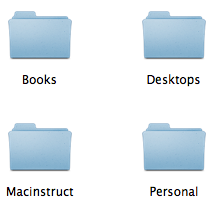
- Locate the file or folder you want to compress. You can select multiple files and folders by holding down the Shift key (for multiple items) or the Command key (for several individual items) and clicking.
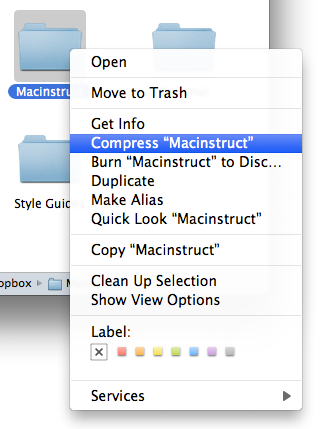
- After you've selected the files and folders, right click on them, and then selectCompress.
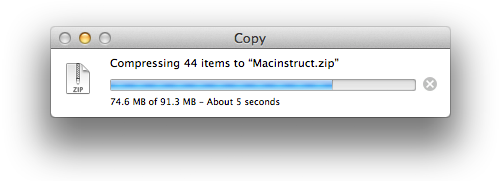
- A window will appear indicating that your Mac is compressing the files or folders. Depending on the size of the files or the folders, this could take a couple minutes.
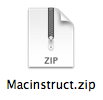
- Once your Mac has finished compressing the files or folders, you'll see a nice little zip file. This contains all of the files and folders you selected to be compressed. Just send this to your Mac- or PC-using friends - they'll be able to open it. All Mac users have to do to open the zip file is double-click it!


Final Thoughts
How much space can you save by compressing? That depends on the type of files you're trying to compress. Generally speaking, a zip file will be about 10% smaller than all of the files were before they were compressed. This feature works best with medium size files - compressing lots of small files or one or two big files won't save you much space.
Retweet this story